Setting Up Velocity
Setting Up Velocity
When running your servers behind a proxy like Velocity or Waterfall, it requires them to be set to offline-mode. Normally hosting companies will not provide support for offline mode servers, but in this case it is required for the proxy to function properly. It will act as the gateway to your servers and handle authentication for you.
Downloading Velocity
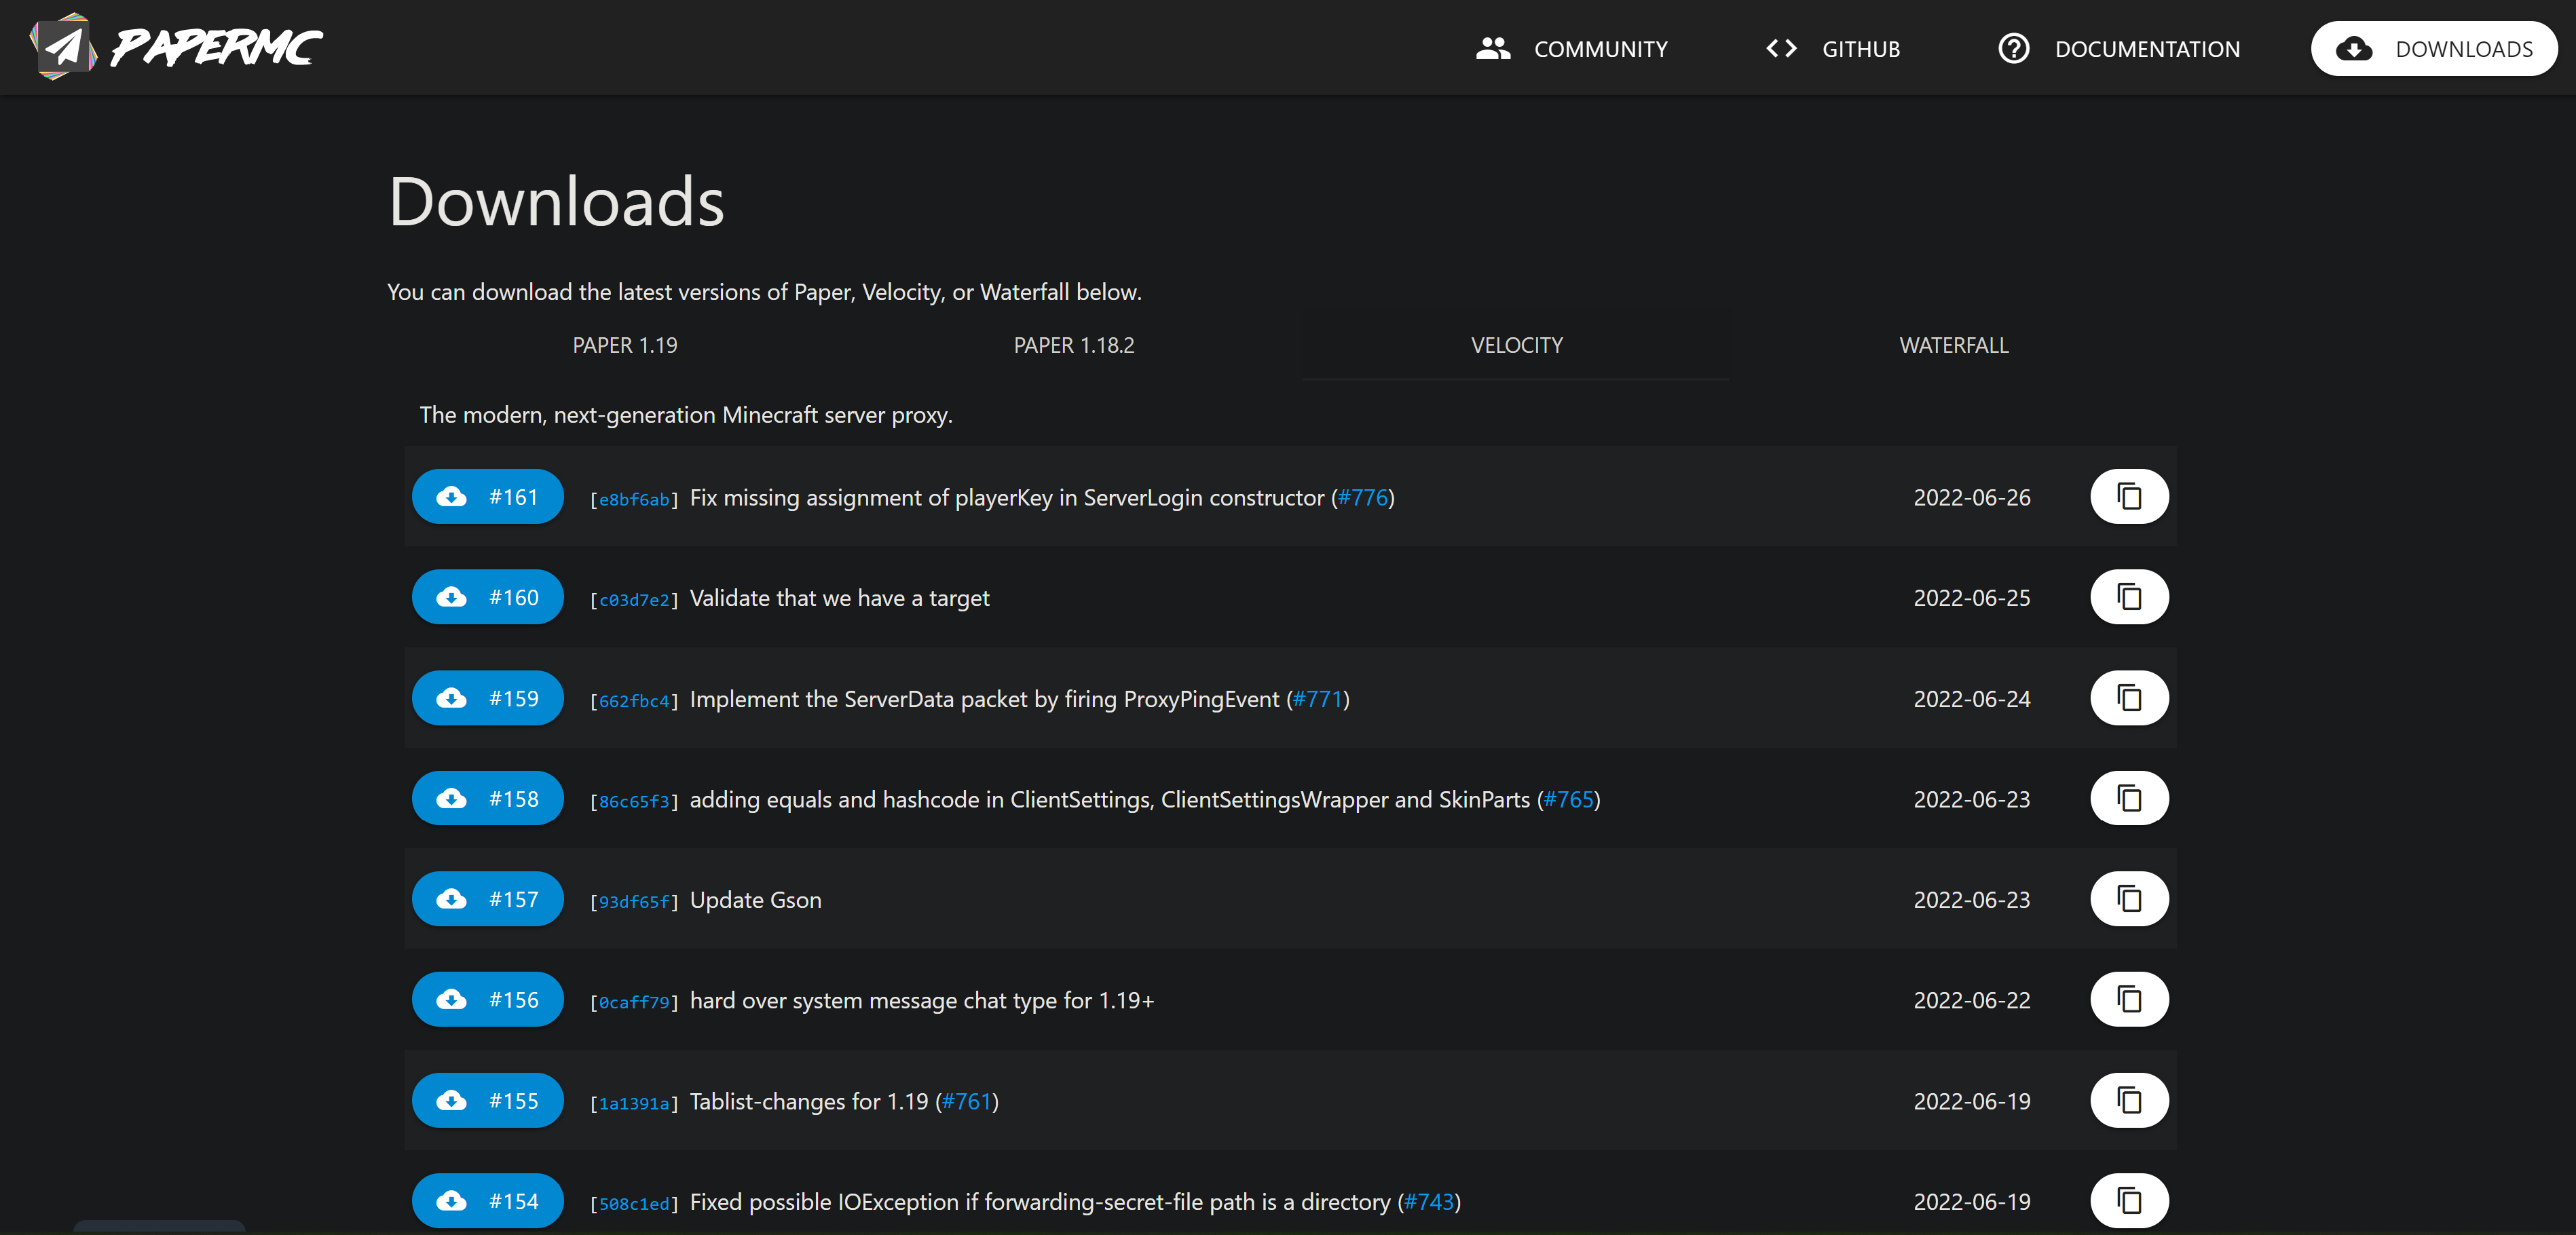
To get started with Velocity, you first need to download the latest version of Velocity from PaperMC downloads page.
Once you have downloaded Velocity you may proceed to the next step in the setup process: creating a server split to run Velocity off of. Velocity is it’s own server jar file and will require it’s own server to run from.
Creating a Velocity Server Split
It is recommended that you give Velocity at least 524 to 750 megabytes of RAM to operate off of, for servers with a lot of traffic it is probably better to allocate 1 gigabyte of RAM for Velocity to ensure a smooth experience for your users.
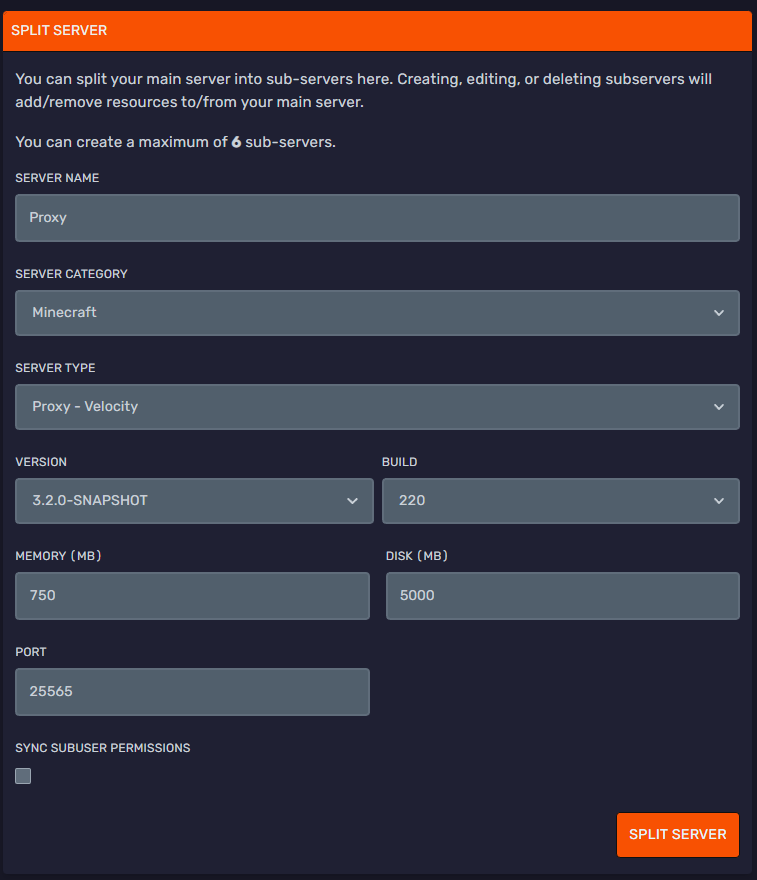
First you will need to head to your server split section via the server panel sidebar.
Next you need to select the type of server split you want to create, name your split, and allocate the amount of RAM and Storage you want your Velocity Server to have, it will look something like this:
After you create your split for Velocity it will appear in that section with all its details, just like your other server splits.

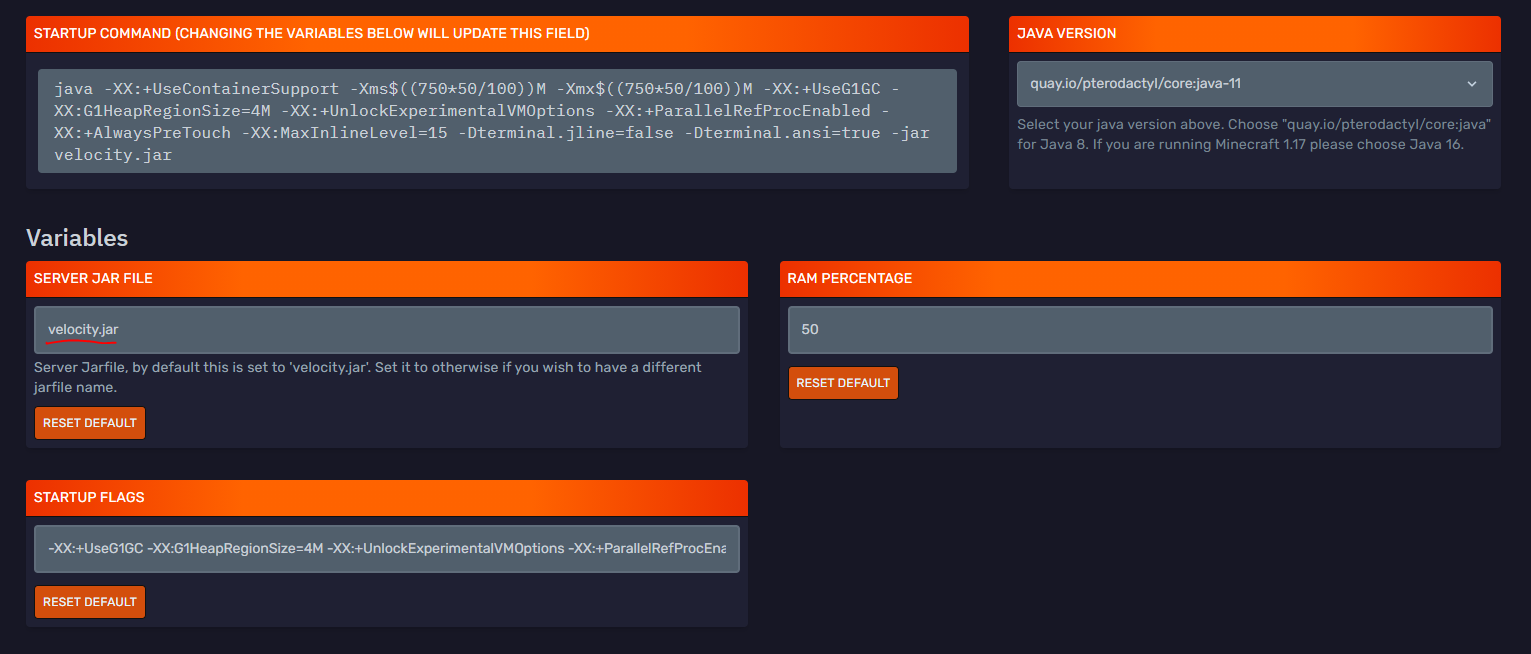
Rename your velocity jar that you downloaded in the previous section to velocity.jar for simplicity and upload it to your /home directory on your new server split. This will be the jar that runs Velocity, much like server jars on your other splits. After you've uploaded the jar file to your server you need to head to the Startup section of your server split via the sidebar and make sure that the name of the startup variable for the server jar matches up with what you have uploaded. It should look like this:
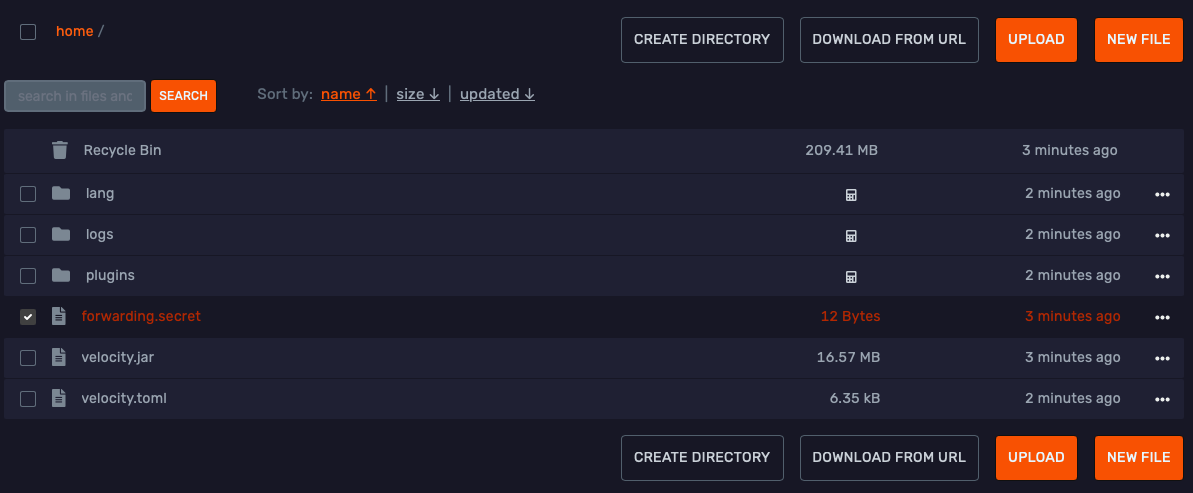
Now you need to start up the Velocity server and then shut it down once it's loaded, this will initialize the filesystem for Velocity and setup Velocity's folders and configuration file. Your /home directory should now look something like this.
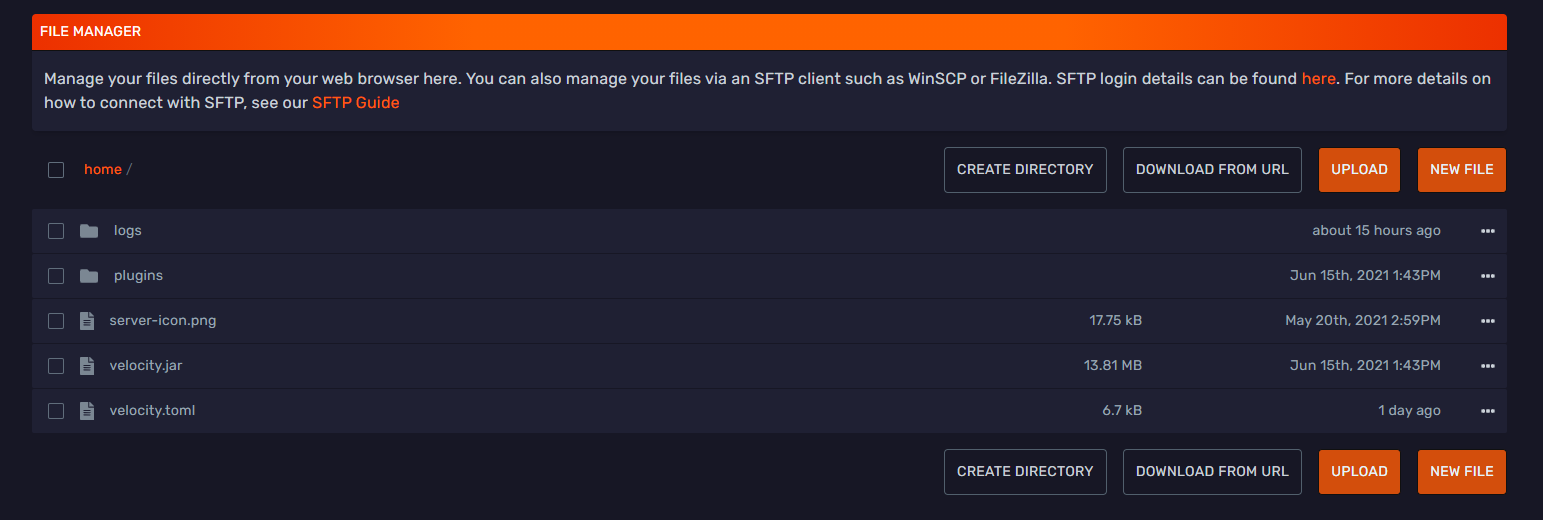
The velocity.toml file is the config file for Velocity, we will be editing this and more in the following sections.
Setting up the [servers] section in velocity.toml
The first section of the config file you need to edit is the [servers] section, this will contain the aliases you want to use for your different servers in the config as well as the IP Addresses/Ports of the servers so that Velocity knows how to connect players to servers running behind the proxy. Here is an example [servers] section provided from Velocity's documentation.
Before you setup this section, you're going to want to make sure all your backend servers are internal. You can make your backend servers internal by going to the Ports and Proxies tab under the specific server and clicking "Make Internal", that will remove all public access to your backend servers which is what we want. When a server is internal they are only accessible via other servers in the same split. If you would like to read more information on our internal servers please see here.
[servers]
# Configure your servers here. Each key represents the server's name, and the value
# represents the IP address of the server to connect to.
lobby = "b5ebd2e5-4141-4d10-8039-d7d6b48ae8ef:25565"
factions = "ea3a8cfd-cdb3-4015-b1e3-e0a0615064b6:25565"
minigames = "6e552616-a923-45f2-8719-4123536440bd:25565"

# In what order we should try servers when a player logs in or is kicked from a server.
try = [
  "lobby"
]
Make sure to replace the serverids with your own server's ids. You can get this from the Ports and Proxies tab after making a server internal, clicking your serverid in the console tab, or under the settings tab. All backend servers use port 25565 so make sure to specify 25565 as shown above.
The try section you see in the above example is extremely important, essentially this is the order of servers in which Velocity will try to connect incoming players to. If you have it setup like try = ["survival", "creative", "minigames"] then players will connect to survival by default, then creative if survival is down, and then minigames if the first two are down. Setup your preferred order and then we will continue our editing.
Configuring server.properties on your backend servers
In the /home directory of the servers you are running behind Velocity, you need to go to server.properties and set online-mode to false. For Velocity to work correctly and communicate with your backend servers it needs to be turned off.
Remember that running your server in offline mode is not supported by Bloom.host normally, but in the case of setting up a proxy like Velocity or Waterfall you need to do so for the proxy to work so it is acceptable.
After you configure and save your server.properties file along with completing the next section on Player Information Forwarding, make sure to restart your backend servers so that the changes are applied.
Configuring Player Information Forwarding
It is HIGHLY recommended that your Velocity server is set to online-mode, this is the most secure option for running your server and will reduce hackers and exploits by a ton simply by having it turned on. You can also visit Velocity’s documentation for more setup help, but it highly recommended that you use modern forwarding.
Part of what makes Velocity more secure than Bungee would be it's modern player information forwarding mode, it is much more secure than Bungee and doesn't require an additional plugin such as BungeeGuard to secure connections between your front-end and back-end servers.
This is pretty simple to setup. First turn your proxy server offline, then locate the option for player-info-forwarding inside velocity.toml and set it to modern. Next you need to perform additional steps depending on the type of server jar that you're running behind Velocity.
Modern Forwarding for Paper
This section also applies to forks based upon Paper such as Purpur or Pufferfish
Paper 1.14+ and above, along with Paper 1.13.1/1.13.2 build 377 and above support Velocity modern forwarding natively.
First, turn your backend server offline.
You need to disable BungeeCord forwarding if you had it enabled beforehand. Make sure bungeecord is set to false in your spigot.yml.

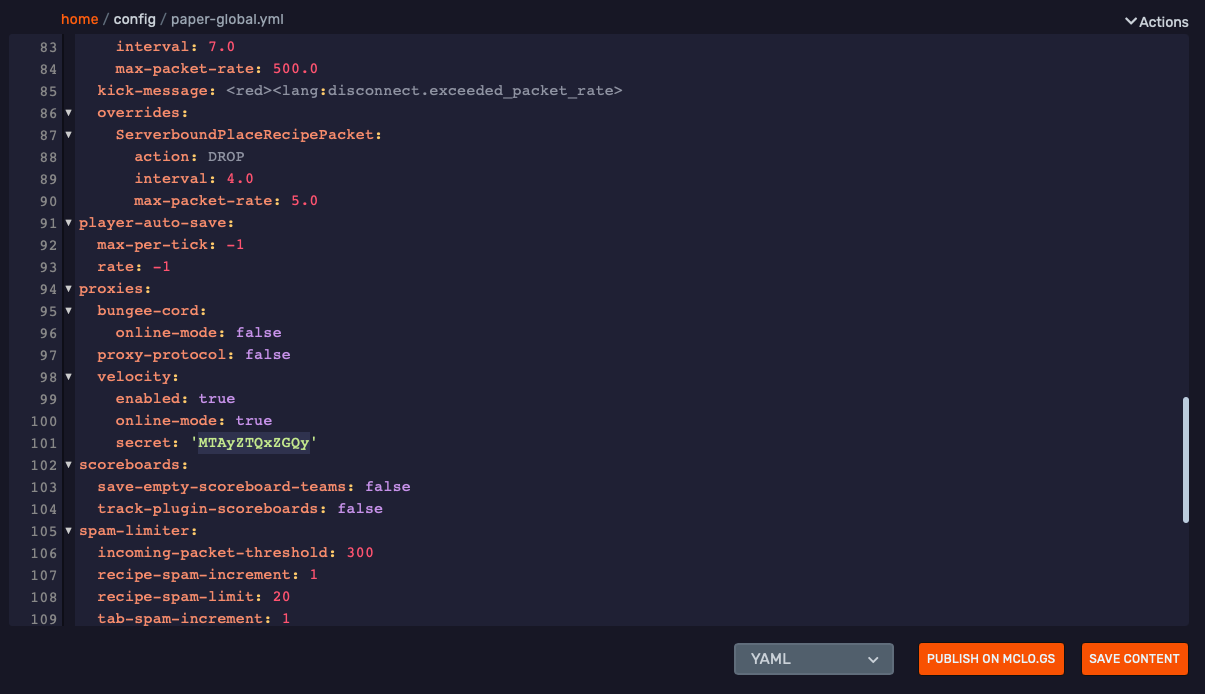
In config/paper-global.yml, under the velocity section set enabled: true and secret '' to match the secret in your forwarding.secret file.
The forwarding.secret is found in the main folder of your Velocity Proxy server, and it will contain a text that you need to paste inside the '' in the secret line in the paper-global.yml files of your backend servers. See the screenshots below:
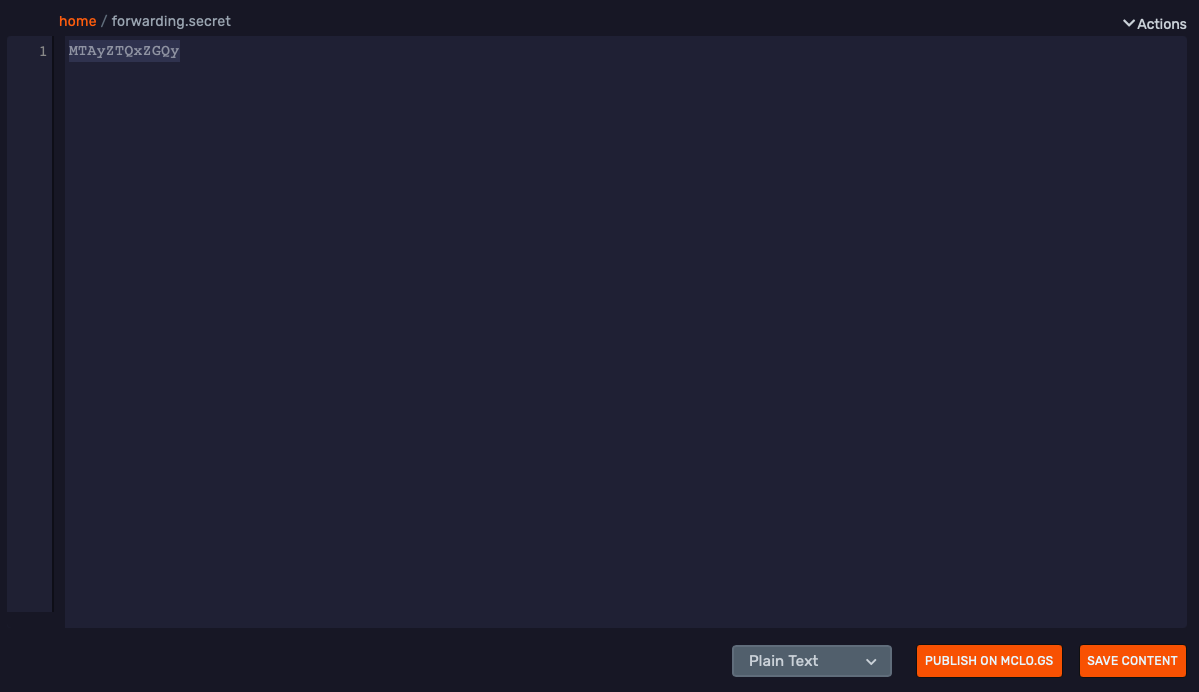
Copy the text found in the forwarding.secret, then go into your Paper backend server, navigate to the config folder then open the paper-global.yml file, search for the secret line and paste the text inside the '', it should look similar to this screenshot but with your unique secret key.
You must also set online-mode under the velocity section in config/paper-global.yml to the online-mode setting in your velocity.toml. Once you're done editing paper-global.yml, start your server. Keep in mind that these changes need to be done while the server is offline, otherwise they will not be saved.
Keep in mind that this steps have to be repeated for every Paper/Backend server you have connected to the Velocity proxy.
Modern Forwarding for Fabric
A mod called FabricProxy-Lite allows you to use Velocity modern forwarding with a modded server using Fabric.
BungeeGuard Forwarding for Spigot/Paper
Legacy BungeeCord forwarding mode is less secure than modern Velocity forwarding mode and may result in security issues if not setup properly.
If you need to use legacy BungeeCord forwarding mode, make sure you setup BungeeGuard to ensure people do not connect directly to your backend servers.
Note that the bungeeguard forwarding mode uses legacy BungeeCord forwarding with the forwarding-secret as the BungeeGuard token.
This section also applies to forks based upon Paper such as Purpur or Pufferfish
If you cannot use modern forwarding (for example, your server jar doesn’t support Velocity modern forwarding), you might be able to use BungeeGuard instead.
To set this up, see the guide on how to set up BungeeGuard.
Additional configuation options for velocity.toml
The following table contains additional noteworthy configuration options for velocity.toml
| Option | Description | Example |
|---|---|---|
| [forced-hosts] | This lets you setup your custom domain with velocity, set the right side up to match your try section from earlier | "host.name" = ["lobby", "survival", "creative"] |
| show-max-players | The max player count that displays in the multiplayer menu | show-max-players: 100 |
| forwarding-secret | Do not change this. This is the secret you need to insert into configuration files on your backend servers | forwarding-secret: "someRandomStringHere" |
| bind | This is the default IP address that players will connect to when connecting to Velocity, it's recommended to set it like the example here so that it uses Minecraft’s default port | bind: "0.0.0.0:25565" |
You can find documentation for other settings in the velocity.toml file right here!
Finishing up
Now that you have configured your backend servers to communicate with Velocity correctly you are ready to start Velocity. Start your Velocity Server and make sure that you have restarted all of your backend servers and you should now have a working Velocity network!
If you are interested in installing additional functionality for Velocity, they have a Plugins section on their website where you can go to find Velocity compatible plugins!
The server-icon.png file you upload to your Velocity server is the icon that will show up on the multiplayer menu in Minecraft.