Setting Up Waterfall/Bungee
Setting Up Waterfall/Bungee
As of March 26th, 2024, Waterfall has been marked as EOL by the Paper team: <https://forums.papermc.io/threads/announcing-the-end-of-life-of-waterfall.1088/>
Please migrate to Velocity as soon as possible!
VIEW LEGACY DOCUMENTATION
Configuring BungeeGuard is essential to secure your backend servers. Read until the end of the article to learn how to configure BungeeGuard!
NOTE: Although the internal servers provide sufficient coverage, installing BungeeGuard will not cause any harm and may serve as an added layer of protection.
Downloading Waterfall
To get started with Waterfall, you need to download their latest jar from their downloads page.
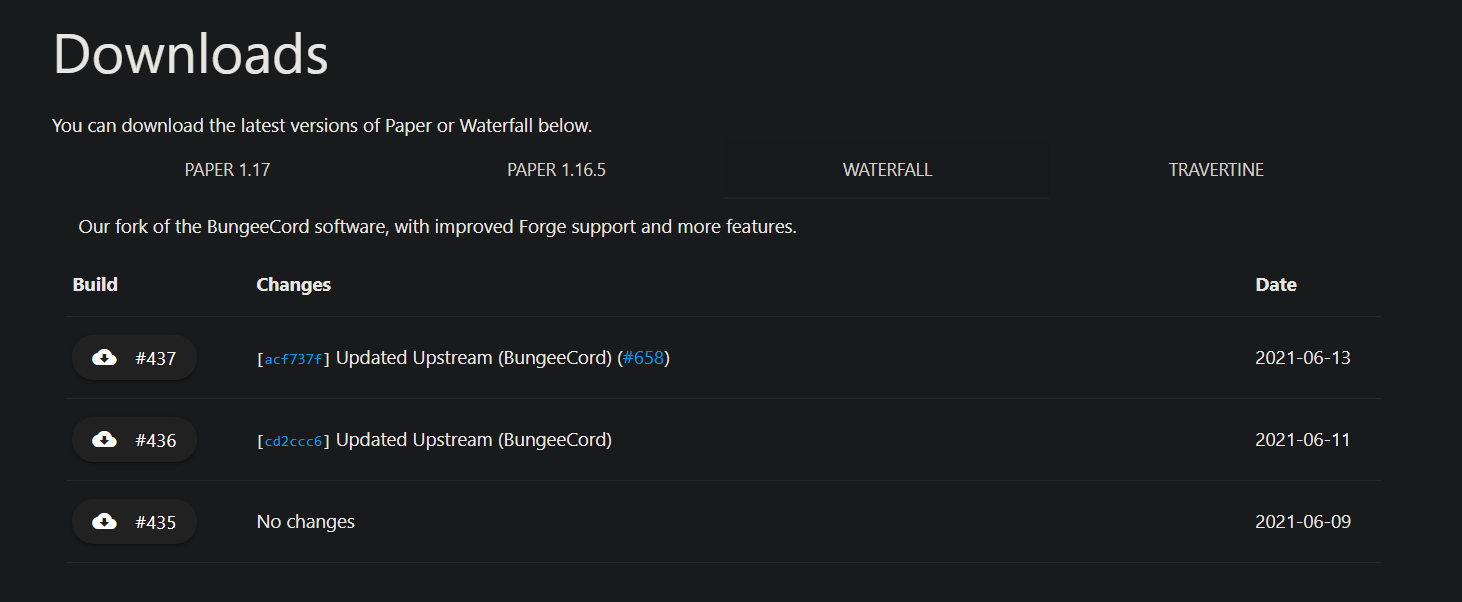
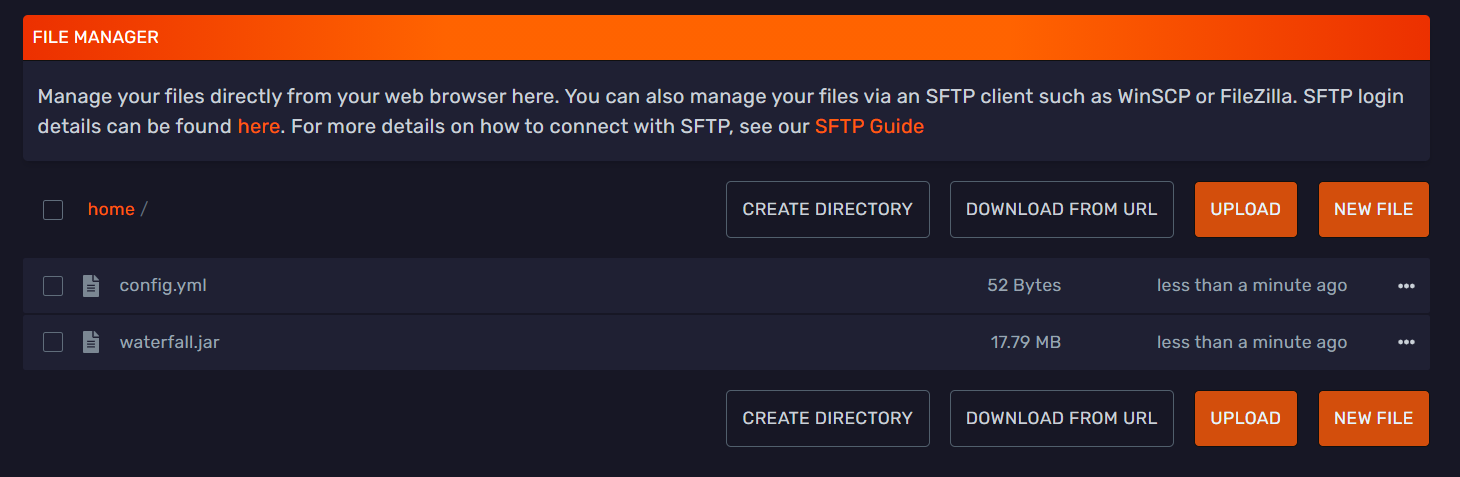
When you have downloaded their latest jar file, then you can upload it to your waterfall server when it's created on the next step.
Server split Waterfall server
You can use the Server Split feature that Bloom has developed to create a proxy server on bloom's panel. You can see in the below image on how you can do so. You need to click on one of your servers to be able to see the server split menu on the left side.
This is how it looks when you're creating your waterfall server in the server split menu.

After you've created the waterfall server in your server split, you'll be able to see the server on your server overview on Bloom's panel.
Configure Waterfall
Before you setup this section, go to each of your backend servers and click the "Make Internal" button under the Ports and Proxies tab.
If you would like to read more information on our internal servers please see here.
You need to start it one time and shut it down afterwards to generate all the files needed to be able to configure waterfall.
Afterwards it will look like this:
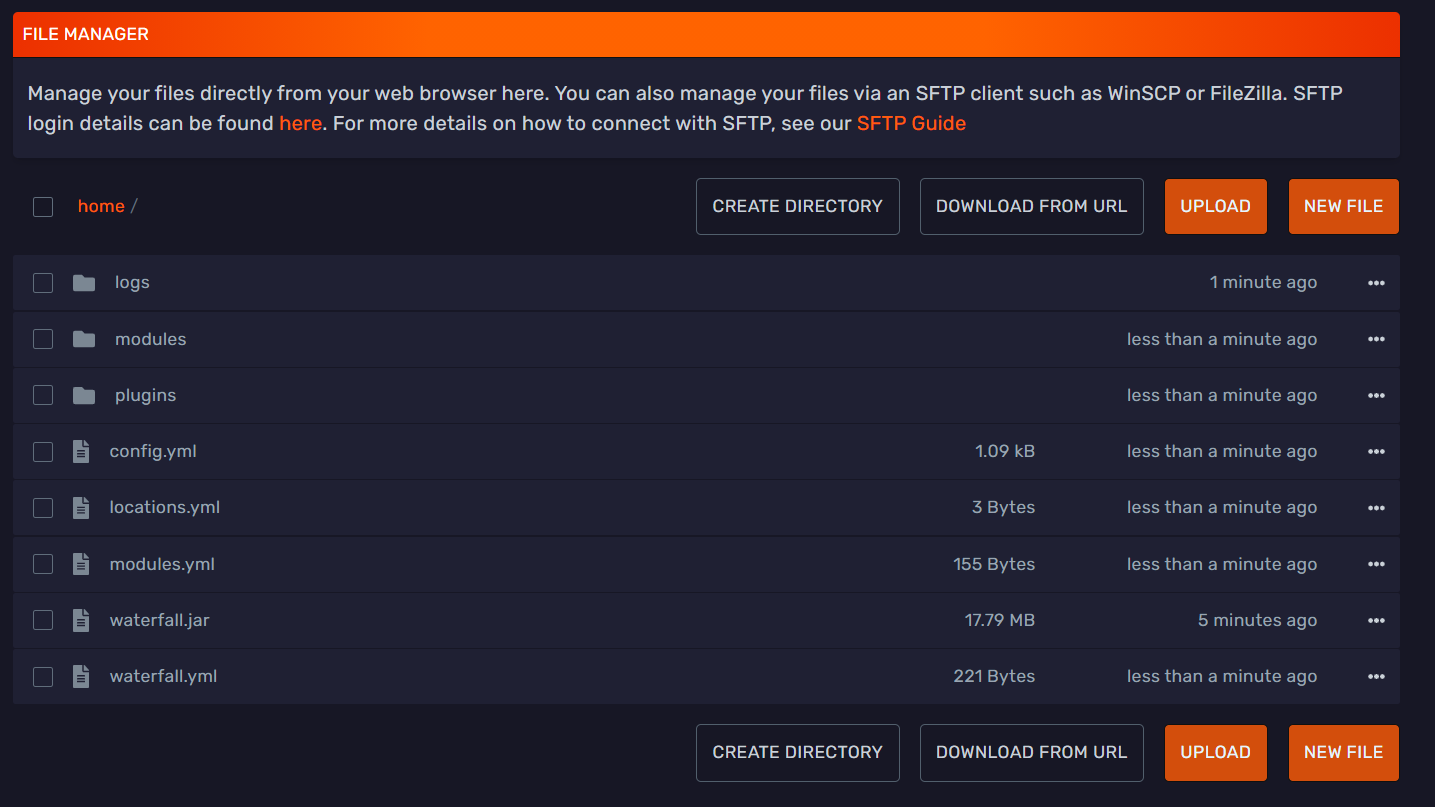
We'll configure waterfall in the config.yml file.
This is how a standard waterfall configuration will look like:
connection_throttle: 4000
connection_throttle_limit: 3
timeout: 30000
stats: d06cf9e1-441c-441f-8a5b-60a5c6bdccc0
permissions:
  default:
  - bungeecord.command.server
  - bungeecord.command.list
  admin:
  - bungeecord.command.alert
  - bungeecord.command.end
  - bungeecord.command.ip
  - bungeecord.command.reload
network_compression_threshold: 256
servers:
  lobby:
    motd: '&1Just another Waterfall - Forced Host'
    address: localhost:25565
    restricted: false
player_limit: -1
prevent_proxy_connections: false
server_connect_timeout: 5000
remote_ping_timeout: 5000
forge_support: true
remote_ping_cache: -1
log_commands: false
log_pings: true
ip_forward: false
disabled_commands:
- disabledcommandhere
groups:
  md_5:
  - admin
listeners:
- host: 0.0.0.0:25565
  query_port: 25573
  motd: '&1Another Bungee server'
  max_players: 1
  force_default_server: false
  tab_size: 60
  forced_hosts:
    pvp.md-5.net: pvp
  tab_list: GLOBAL_PING
  bind_local_address: true
  ping_passthrough: false
  query_enabled: false
  proxy_protocol: false
  priorities:
  - lobby
online_mode: true
You need to have 3 servers in total to be able to use a proxy server. 1 proxy server and 2 backend servers.
We need to add the backend servers to under the servers menu and the priorities list in the config.yml file.
If for example, one of your backend servers is a survival server, you'll need to add this under your server section:
survival:
    motd: '&1Survival Server'
    address: 0fcfdfda-5d97-46b7-bbee-f8a26381dbd6:25565
    restricted: false
Remeber to use your backend server's own serverid and replace the example above
Afterwards you'll need to add the survival server to under priorities.
When you're done with adding backend servers it might look like this:
connection_throttle: 4000
connection_throttle_limit: 3
timeout: 30000
stats: d06cf9e1-441c-441f-8a5b-60a5c6bdccc0
permissions:
  default:
  - bungeecord.command.server
  - bungeecord.command.list
  admin:
  - bungeecord.command.alert
  - bungeecord.command.end
  - bungeecord.command.ip
  - bungeecord.command.reload
network_compression_threshold: 256
servers:
  lobby:
    motd: '&1Just another Waterfall - Forced Host'
    address: efae21aa-a75e-4750-83b3-8aa90221ab07:25565
    restricted: false
  survival:
    motd: '&1Survival Server'
    address: 4cc857fa-9f7d-494e-875c-b50676373f82:25565
    restricted: false
  skyblock:
    motd: '&1Skyblock server'
    address: 642fb0a5-9290-45c8-a7f2-b1489f556b17:25565
    restricted: false
player_limit: -1
prevent_proxy_connections: false
server_connect_timeout: 5000
remote_ping_timeout: 5000
forge_support: true
remote_ping_cache: -1
log_commands: false
log_pings: true
ip_forward: true
disabled_commands:
- disabledcommandhere
groups:
  md_5:
  - admin
listeners:
- host: 0.0.0.0:25565
  query_port: 25573
  motd: '&1Another Bungee server'
  max_players: 1
  force_default_server: false
  tab_size: 60
  forced_hosts:
    pvp.md-5.net: pvp
  tab_list: GLOBAL_PING
  bind_local_address: true
  ping_passthrough: false
  query_enabled: false
  proxy_protocol: false
  priorities:
  - lobby
  - survival
  - skyblock
online_mode: true
Make sure ip_forward is set to true in Waterfall config.yml and bungeecord is set to true in spigot.yml on all your backend servers.
Configure backend servers
On the backend server, you'll need to go into server.properties and set online-mode to false and afterwards go into spigot.yml and change bungeecord to true.
When running your servers behind a proxy like Velocity or Waterfall, it requires them to be set to offline-mode. Normally hosting companies will not provide support for offline mode servers, but in this case it is required for the proxy to function properly. It will act as the gateway to your servers and handle authentication for you.
It is recommended that you do not skip this step and complete your setup by configuring BungueeGuard as well!
Setting Up BungeeGuard
What does the plugin do?
BungeeGuard is a plugin used to protect against BungeeCord's UUID spoof exploit which allows users to join without authenticating through the BungeeCord proxy, allowing them to join as any user.
Usage
Make sure your BungeeCord is on the latest version. Also, make sure to use version 1.2 or later of BungeeGuard as previous versions have an issue.
Download the plugin then upload the jar into both your BungeeCord and Spigot plugins folder. Restart the servers. If you need help installing plugins, check out this guide.
After you have restarted the servers you installed BungeeGuard on, enter the config.yml file located in your BungeeCord's BungeeGuard directory and copy the authentication token. Paste this authentication token into the config.yml file within your Spigot servers' BungeeGuard directory.
Example configuration:
# Allowed authentication tokens.
allowed-tokens:
  - "AUSXEwebkOGVnbihJM8gBS0QUutDzvIG009xoAfo1Huba9pGvhfjrA21r8dWVsa8"
Now, restart all your servers you installed BungeeGuard on and test to see if it's properly working!