Using Plugins
Using Plugins
Introduction
It's possible to modify certain aspects of your server by utilizing plugins.
In order to modify the game, the server must use Oxide/uMod.
Enabling Oxide/uMod
Before installing any plugins, we have to enable Oxide/uMod on the server.
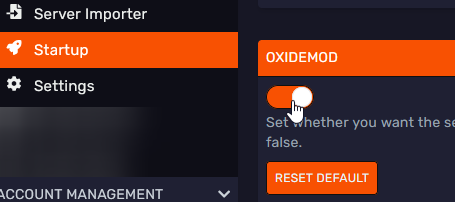
To do this, open your server in the DuckPanel and navigate to the 'Startup' tab.
Here, ensure the 'Oxidemod' slider is enabled.
Installing Plugins
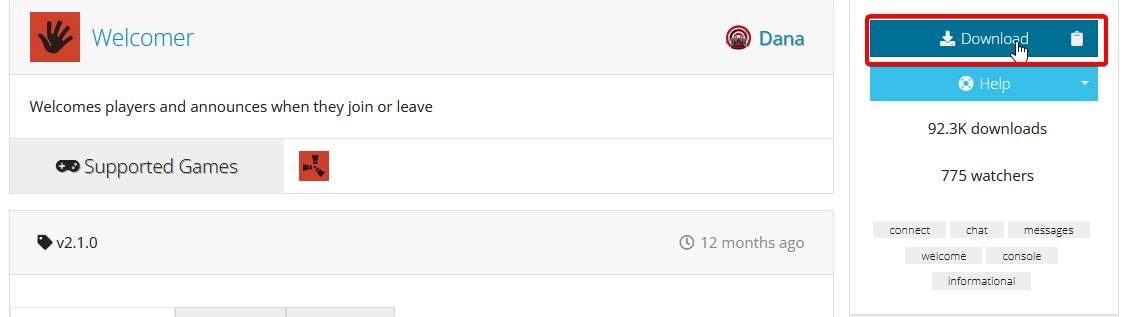
First, we should find some plugins to install. Please ensure to only download plugins from trusted sources, such as the official plugin list.
In this example, we will install Welcomer by Dana.
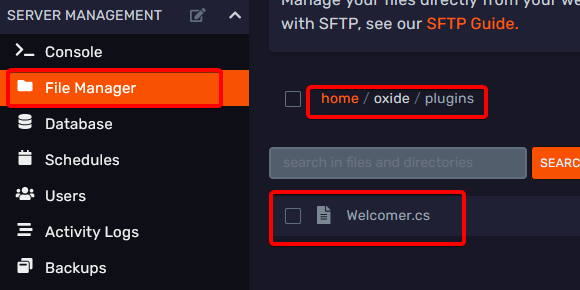
Once downloaded, head over to the File Manager tab and open the plugins
directory within the oxide one.
If you have not restarted the server after installing Oxide/uMod, feel free to create these folders manually.
Drag & drop the plugin file into the directory.
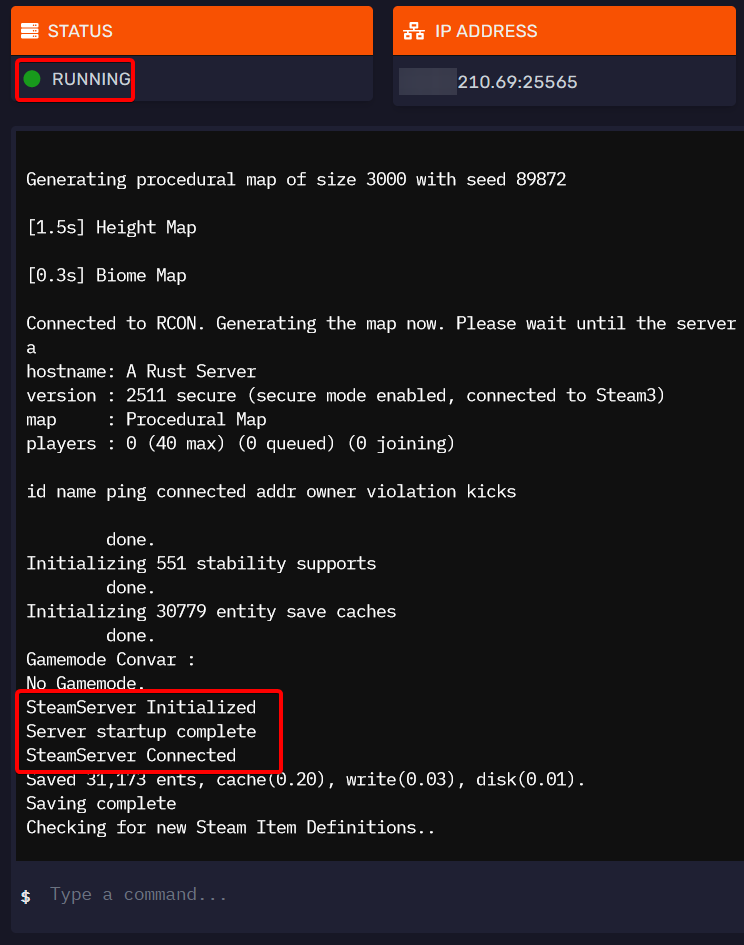
Lastly, head back to the 'Console' tab and restart the server. It may take a little while for the server to load for the
first time after installing new plugins, but you will see the status show as 'Running' when it's ready.
Lastly, you can verify that the plugin is installed by using the plugins command in-game as
an administrator or in the console.

Configuring Plugins
Almost all plugins have configurations to modify certain aspects of their behaviours.
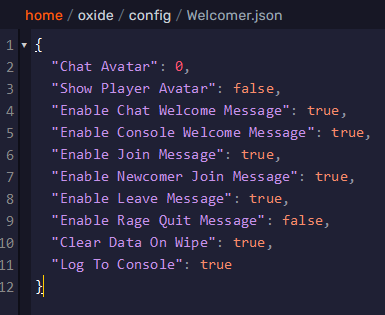
You can find these configs in the config directory within the oxide one:
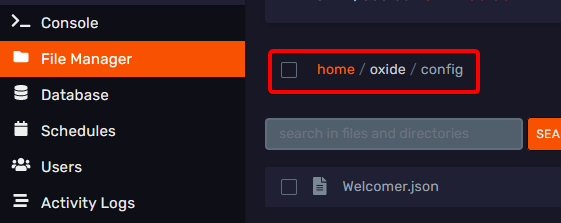
Every config is different, but they usually use easy to understand formats, such as JSON or YAML.
Make sure to restart the server to apply the changes.